5.19.2011

So,We're Awful.

Errmmmmmm,yeah. The headline about sums it all up.
Not only did we fail to launch our etsy, put up a giveaway, and ya know,blog in the past forever, we never even put up the (re)fresh roundup.
Ouch.
We really suck.
If it's any comfort to you at all, Jonie had to pick a college and Betsy was sick multiple times.
Kinda help?
Sorta,not really?

Alas,if we had a time machine, we would change it.

But fear not, we are back and have a number of posts rearin' to go.
Ohhhh baby.

Anyways,we are VERY sorry and we shall be back at it again soon!


4.12.2011

Refresh(ing) Jewelry Designs

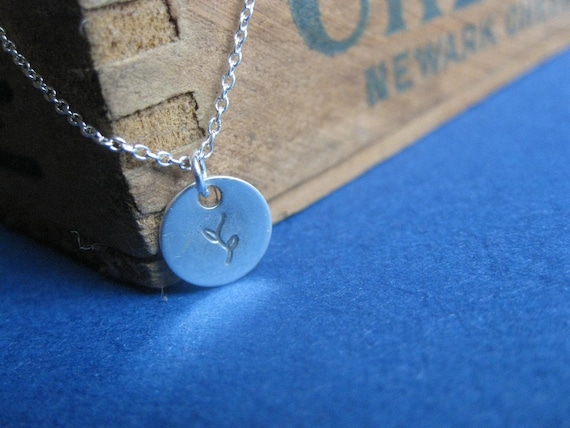
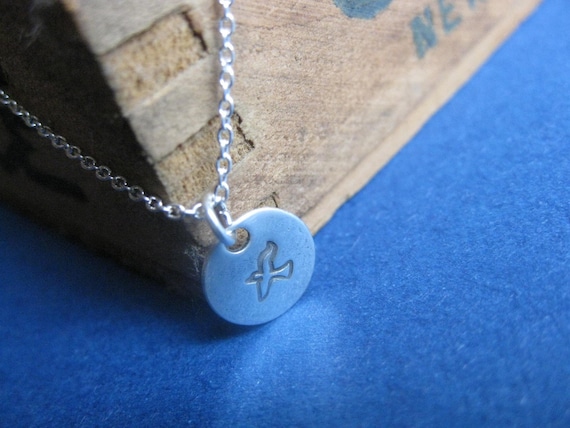
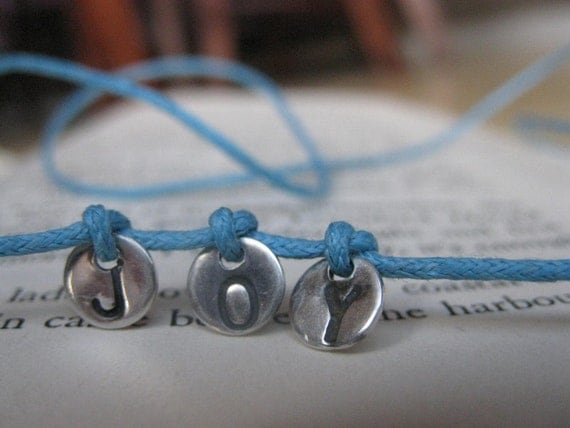
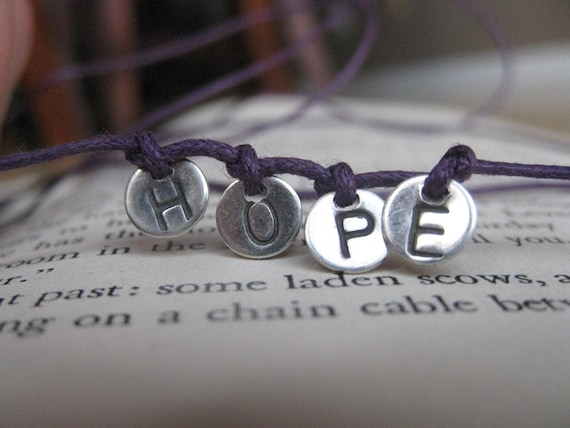
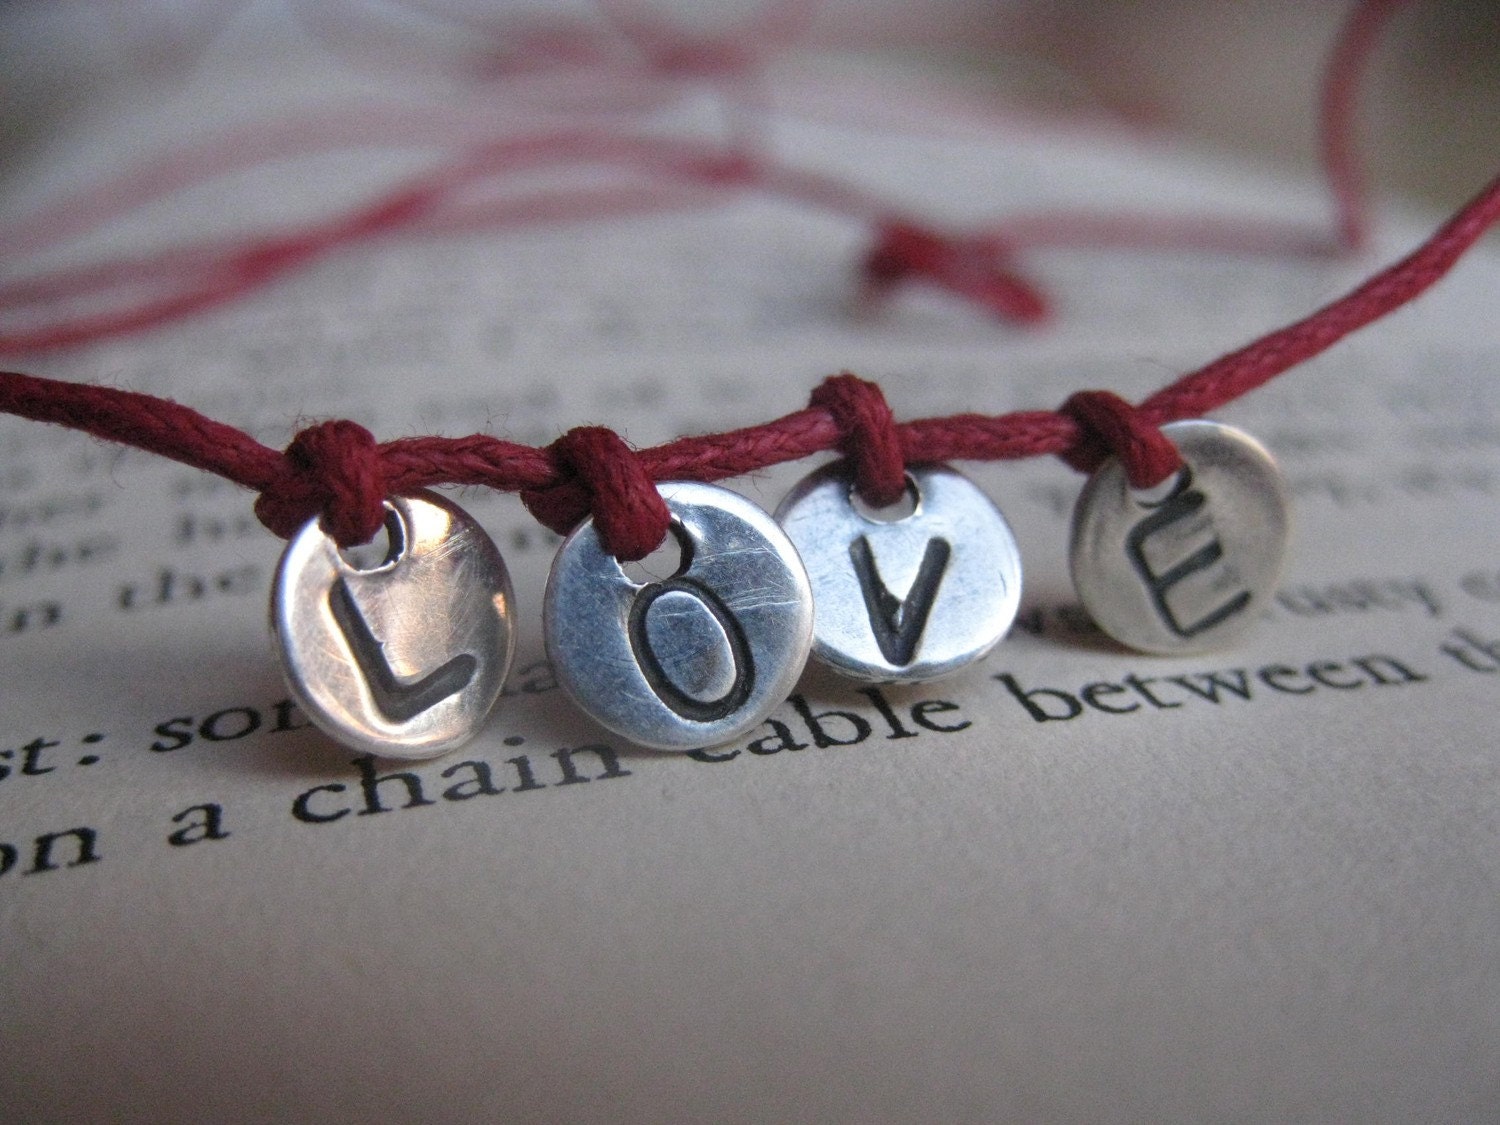
So, while thinking about my fear of getting a real job and the fact that I am going to have to, I, Jonie, decided to compromise and open a wee little Etsy shop, called Refresh(ing) Jewelry Designs. Each piece is hand stamped and oxidized (by yours truly, of course).    *Oxidizing is pretty much a natural process, I just speed it up. It would happen anyways after many, many years.*    I oxidize each piece with Liver of Sulfur (a chemical agent that speeds the oxidization process), unlike many other sellers who use Sharpies. Oxidizing using Liver of Sulfur creates a more natural look, since the color is more of a deep gray than black, which is what would happen with a Sharpie. I take a lot of time on each piece: drilling, stamping, oxidizing, and polishing. All metal components are sterling silver. I create each piece with the intent of it being highly wearable for everyday-simple, but lovely. Here's what I've got in my shop so far:

Sterling Silver Branch Necklace
Sterling Silver Flying Swallow Necklace
These bracelets are long enough to be wrapped around the wrist about 4-5 times, or they could be used as anklets or necklaces.

JOY wrap around bracelet
PEACE wrap around bracelet
HOPE wrap around bracelet
LOVE wrap around bracelet
So, there's me sharing my endeavors and shamelessly promoting myself :)


4.01.2011

(re)freshing: Flower Belt Tutorial


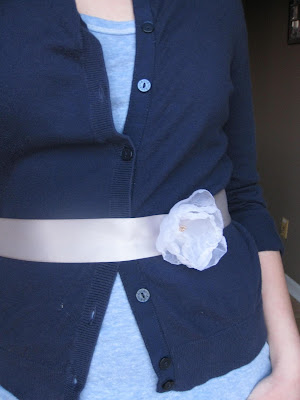
Here's a quick, adorable belt that probably cost us a whopping 50 cents altogether.
Wanna make one? Here's how....

Supplies
  • Wide satin ribbon, enough to go around your waist and hit wherever you should choose
  • Synthetic organza or chiffon
  • Small "seed" beads
  • Needle 
  • Thread

Step 1. Cut out three circles from your chiffon/organza of similar size. It doesn't really matter if it's perfect
.

Step 2. Stack them and pull and knotted thread through them so that they hang together.


Step 3. Turn your stove on a lower heat and sortof twirl the petals around until they warp into a pleasing, flower-like shape. We won't lie, it's a bit hard at first. You might have to try several times. Don't get it too close, just be patient.

4. It should look something like this now. Attach it at the end of a piece of ribbon long enough to fit around your waist at whatever part you want it to. I(Jonie) wanted mine to hit my natural waist(ish). You can skip a step and attach it while sewing on seeds beads, like so.


Step 5. Bust out your mom's sketchy snap buttons and attach one half to the back of the flower area and another to the other end of the ribbon.


Step 6. Trim your ribbon on both end in a triangular way (to prevent fraying) and apply clear nail polish to the ends to help stop fraying.


Step 7. Wait for that to dry. Contrary to what you might convince yourself, this step is important. 

You've got yourself a snazzy new belt that will class up pretty much anything! 


(re)freshing Style Tips: Quick Fixes for the Everyday


Need a fix but have no time to craft or shop? Fear not,we've got you covered!

1.Thought cuffing pants was just for jeans? Not anymore! Fold up your dress pants ala J. Crew for a fresh take on the classics.


2.Wish that scarf was an infinity scarf? Use safety pins to pin the edges together! Loop it over as a circle scarf,just make sure the pins are closed keep the ends in the ends in the back. Voila!

Pin-to-win! This gorgeous scarf hangs awkwardly and this was it's redemption.
In use! Not the best top to pair it with,but um, you get the idea.
 3.The tried-but-true ponytail-to-bun always jazzes up your 'do. Need to know how? Put your hair in a ponytail,pull through the elastic as usual. On the last loop,don't pull your hair all the way through. Instant fancy!
(No photo 'cause photographing the back of yo head is somewhat challenging.)

4.Dresses can be shirts. Mind boggling, we know, but it's quite true. Use a dress that isn't super bulky and tuck it into your jeans-you can either do so tightly or leave it hanging over loosely, but that depends on the dress. (Tucking is acceptable sometimes.)We tucked in a simple gingham dress. So pretty much, you get a new shirt without spending any money. YAY!!! You can also simply layer a dress over jeans for layering funsies


5.We used to think our mom's old square scarves were outdated and ugly. We've changed. The light and silky square scarves of our mother's generation is a great way to reuse items. Wear them like a bandanna around your neck, or as a headband.


3.31.2011

(re)freshing Home Decor Roundup

Now,this is not our forte,per say, and we can barely scratch the big wide surface that is out there in this one roundup, but hopefully this inspires you to mix it up a little this spring!

Make a gorgeous teapot lamp at Design Sponge!
Make some sweet new art! Tutorial for Stenciled art and a tutorial for chevron art.
Make gorgeous sheet music flowers with My Girlish Whims!