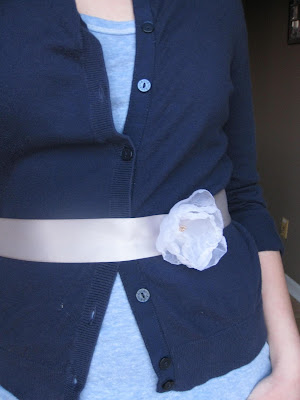
"Wait a second...silk flowers are TACKY."
Yes. Yes they are.
But not all of them,per sey.
Plus,nothing says spring like flower in your hair!
Plus plus! The cost is minimal and the project is quick and simple.
PLUS PLUS PLUS,it's a pin-up girl throw back,only,ya know, classier.
Win-win-win!
Here's how...
Step 1. Gather your supplies. You will need...
- Rubberbands(the coated kind, not the ghetto rubber kind) or hair clips or bobby pins or headbands or whatever,really. You could even use a pin backing fro a broach if you're wild and crazy.
- Felt. Yes,it can be the cheap kind, it's just for gluing to the bottom of your flower. We used "eco-felt"(Ooooooooh,snobby!) 'cause we had it on hand.
The best crafting item EVER Hot glue gun and work surface sufficient for it's use.- Scissors
- Silk flowers! Choose pretty 'uns. Micheals and Hobby Lobby pretty much always have them on sale, and the dollar store carries them,too.
 |
| Behold,supplies. |
Step 2: Get your glue gun heating now and start deconstructing your flower. What this entails is pulling it off the stem. From there it's pretty simple. Just pulling apart layer. We recommend only going a layer at a time,however.
 |
| Yaaaaaay,destroying flowers! | | | |
|
|
Step 3: On your work surface, start gluing the petals of the flower together,one layer at a time,working from the bottom up. You're going to be doing this for a while. Once you get to the LAST petal or CENTER,depending on the flower type you're using,consult the instructions again.
 |
| Just a dot in the center! |
 |
| Layers! Good thing hot glue dries fast,eh? |
Step 4: You at your center now? Congrats! From here you have a two options. You could (a.) continue in the traditional manner and finish the flower off with the remaining part,or (b.) glue a rhinestone or something in the center. Your choice. Should you go traditional, we have a few tips left for you...
If you have a layer center flower(no fake pollen-y looking center),like a carnation, take the remaining layer and hold it in your hand. Moving fast,glue a droplet of glue in the center and pinch close,the giving it dimension. Glue it to the center,fluff, and you're done until the next step!
 |
| Pinching! |
 |
| Nice'n'fluffy? Good! You may move onto the next step now. |
If you have a "center" center flower, you will have been peeling layer off the bottom of your center. Now you probably have what resembles a yellow thing on a tiny stick. You're going to want to cut that apart as close to the base of the center as is possible,then proceed to glue that smack dab in the middle of your flower. You're done with the flower assembly!
 |
| Oh no's! |
 |
| Glue and press! |
Step 5: Cut out a square of felt. If you are gluing to a rubber-band or headband, you're done cutting felt. If you are gluing to a clip or bobby pin, you have to do the slit-y thing seen in the bottom right hand corner of the picture below. You could always glue directly to the clip, but our experience is that it will fall of fast if it has nothing to grip to. You have been warned.
 |
| Examples of how one might use their felt square differently depending o what they end up gluing their flower to. |
Step 6: Glue your flower and felt together,sandwiching your hair thing in between!
 |
| Sorry for the truly awful photos of this process. |
 |
| Voila! Super cute,cheap, and springy! |
 |
| A new daisy clip in action! |
 |
| Awwwwww,the flower ponytail holder and clip together! Sooooo cute. |
Did this all make sense? Let us know if it didn't! Betsy has been making them for years,so hopefully the idea got across well enough,as well,it's pretty simple.
This is such a fun,fast project. You can easily have friends over and whip out a bunch of these in 10 minutes flat!(Tea party with flower clip making? We vote yes.)
It would also be great for a little girls birthday party! Our church actually something kind of like this for our Christmas craft night last year and it was a huge hit!
Sorry for the crappy photos! We're still getting used to tutorial photography,hehe..


